
Greenscreen

Something used heaps in the film industry is the "Greenscreen" I thought I would take a quick look at how to make a greenscreen that works fast enough to run on a live webcam stream. And infact one that works with any coloured background. It has many many limitations, but was a fun experiment! To run this example you will need OpenCV with the SWIG Python bindings installed. You can get this code from my SVN repository here.


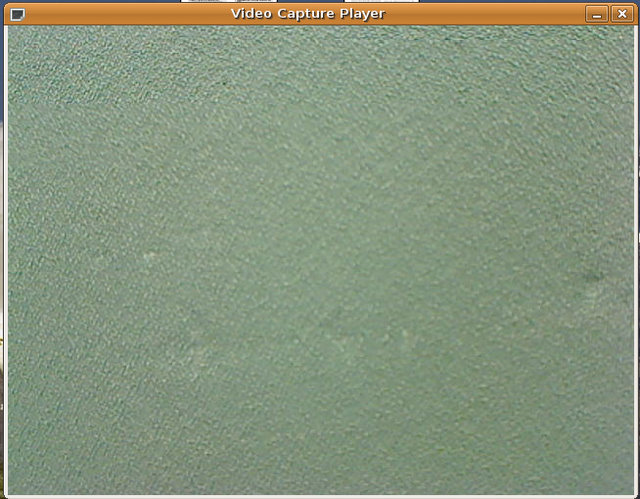
Firstly the background I started with:

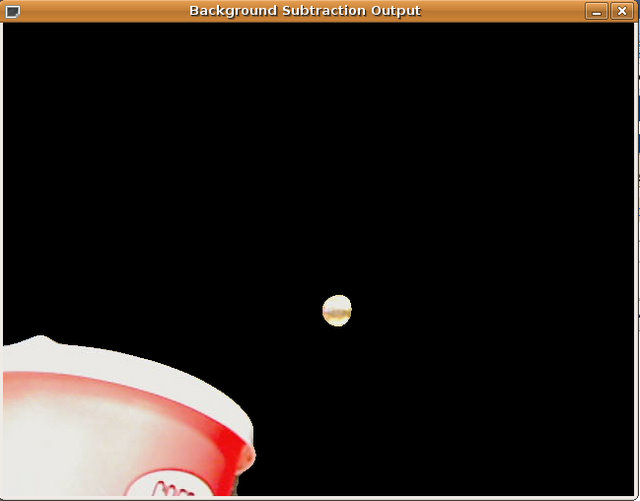
Adding an object to the scene, and carrying out back ground subtraction:


So anyhow the code:
#!/usr/bin/env python

from VideoCapturePlayer import VideoCapturePlayer as VCP

from opencv import cv


def threshold_image(image, n=[]):
    """Record the first 5 images to get a background, then diff current frame with the last saved frame.
    """
    if len(n) < 5:
        # n[4] will be our background
        # First capture a few images
        n.append(cv.cvCloneMat(image))
        if len(n) == 5:
            # last time here 
            # could do averaging here.
            pass
        return image
        
    original = n[4]
    differenceImage  = cv.cvCloneMat( image )
    cv.cvAbsDiff( image, original, differenceImage )
    thresholdValue = 50     # 32 
    cv.cvThreshold( differenceImage, differenceImage, thresholdValue, 255, cv.CV_THRESH_BINARY )
    
    cv.cvSmooth(differenceImage, differenceImage, cv.CV_MEDIAN, 15)
    gray = cv.cvCreateImage( cv.cvGetSize(differenceImage), 8, 1 )
    cv.cvCvtColor( differenceImage, gray, cv.CV_BGR2GRAY )   
    
    result  = cv.cvCloneMat( image)
    cv.cvSetZero(result)
    
    cv.cvAnd(image,image, result, gray)
    return result

if __name__ == "__main__":
    title = "Background Subtraction Output"
    VCP(threshold_image, title).main()

Some objects don't work so well. Output is very noisy.


Now there is nothing to say a green background must be used at all, so what about just using my desk as the background:


And adding my highlighter to the desk...


And a simple shot showing the final scene to show I didn't cheat.


And there you have it.

Popular posts from this blog

Driveby contribution to Python Cryptography

While at PyConAU 2016 I attended the Monday sprints and spent some time looking at a proposed feature I hoped would soon be part of cryptography . As most readers of this blog will know, cryptography is a very respected project within the Python ecosystem and it was an interesting experience to see how such a prominent open source project handles contributions and reviews. The feature in question is the Diffie-Hellman Key Exchange algorithm used in many cryptography applications. Diffie-Helman Key Exchange is a way of generating a shared secret between two parties where the secret can't be determined by an eavesdropper observing the communication. DHE is extremely common - it is one of the primary methods used to provide "perfect forward secrecy" every time you initiate a TLS connection to an HTTPS website. Mathematically it is extremely elegant and the inventors were the recipients of the 2015 Turing award . I wanted to write about this particular contribution becau...

Matplotlib in Django

The official django tutorial is very good, it stops short of displaying data with matplotlib - which could be very handy for dsp or automated testing. This is an extension to the tutorial. So first you must do the official tutorial! Complete the tutorial (as of writing this up to part 4). Adding an image to a view To start with we will take a static image from the hard drive and display it on the polls index page. Usually if it really is a static image this would be managed by the webserver eg apache. For introduction purposes we will get django to serve the static image. To do this we first need to change the template. Change the template At the moment poll_list.html probably looks something like this: <h1>Django test app - Polls</h1> {% if object_list %} <ul> {% for object in object_list %} <li><a href="/polls/{{object.id}}">{{ object.question }}</a></li> {% endfor %} </ul> {% else %} <p>No polls...

Python and Gmail with IMAP

Today I had to automatically access my Gmail inbox from Python. I needed the ability to get an unread email count, the subjects of those unread emails and then download them. I found a Gmail.py library on sourceforge, but it actually opened the normal gmail webpage and site scraped the info. I wanted something much faster, luckily gmail can now be accessed with both pop and imap. After a tiny amount of research I decided imap was the better albiet slightly more difficult protocol. Enabling imap in gmail is straight forward, it was under labs. The address for gmail's imap server is: imap.gmail.com:993 Python has a library module called imaplib , we will make heavy use of that to access our emails. I'm going to assume that we have already defined two globals - username and password. To connect and login to the gmail server and select the inbox we can do: import imaplib imap_server = imaplib . IMAP4_SSL ( "imap.gmail.com" , 993 ) imap_server . login ( use...